-40%
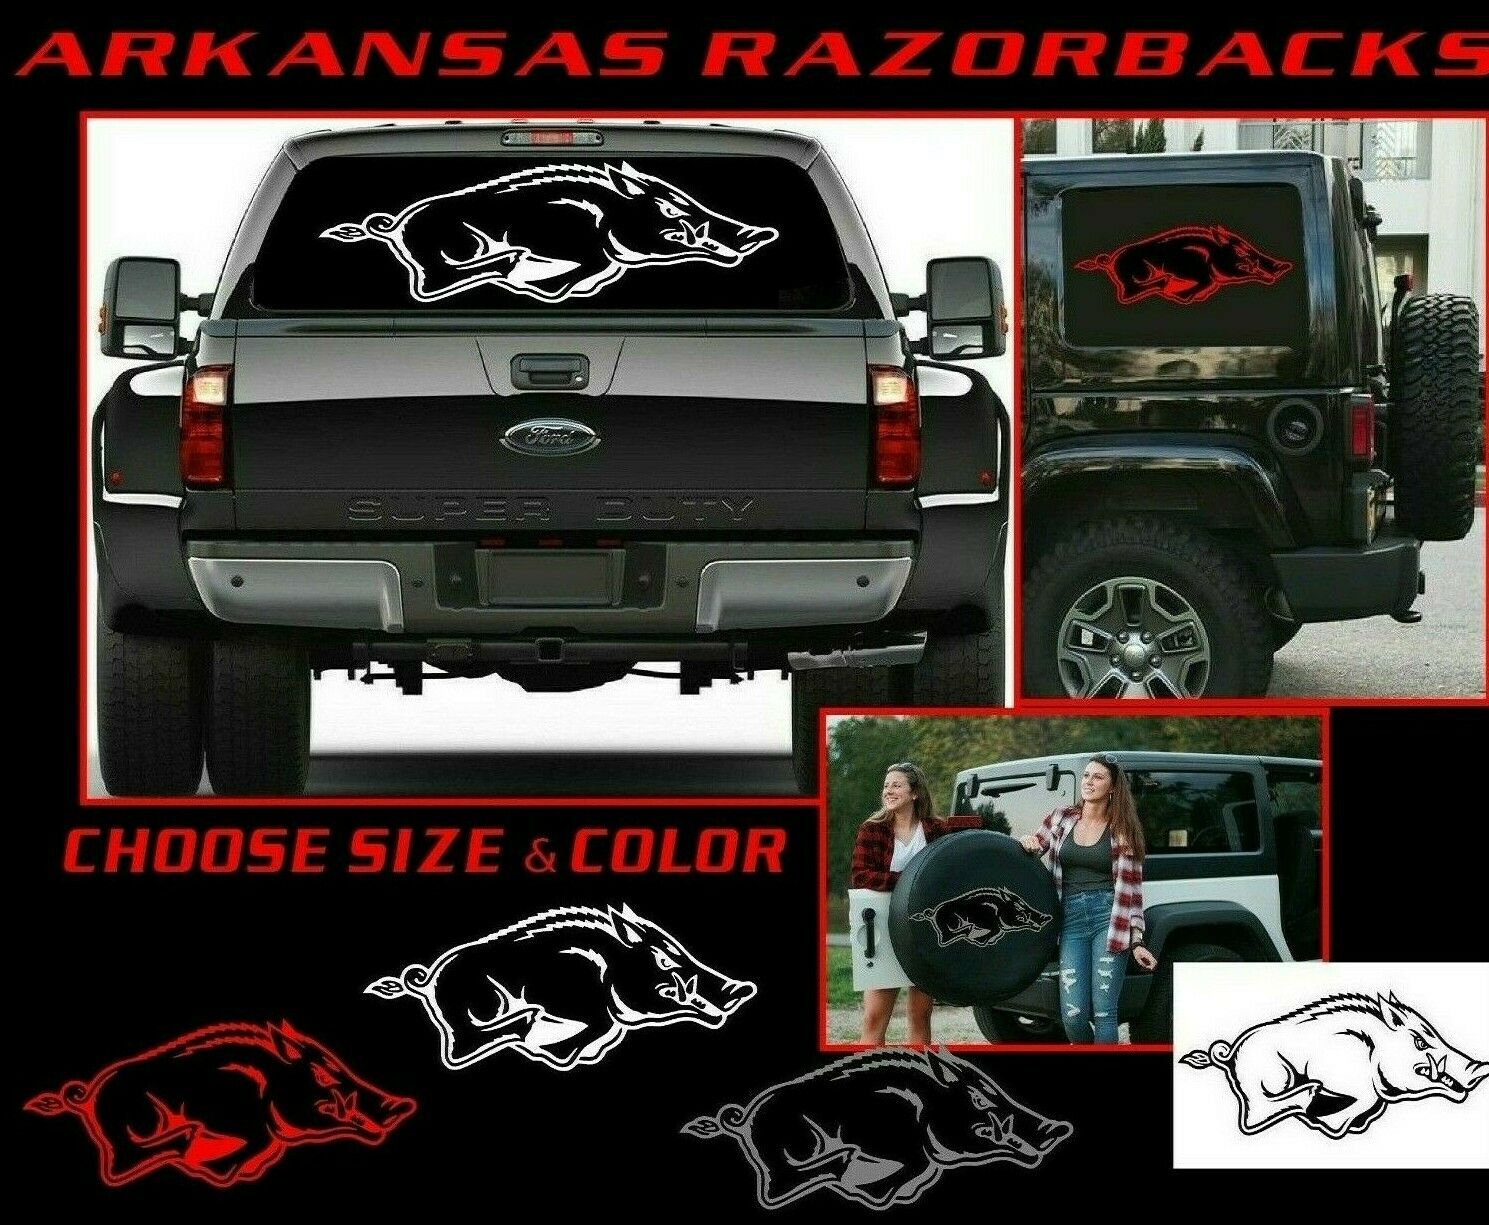
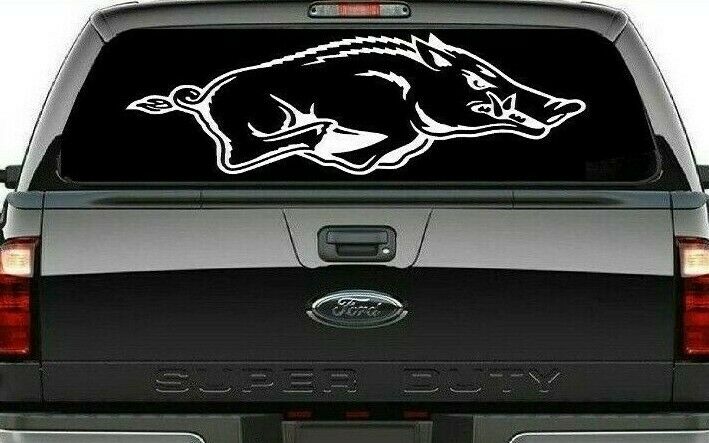
A5 ARKANSAS RAZORBACKS HOGS WINDOW VINYL GRAPHIC DECAL SUV TRUCK FREE SHIP 4 U
$ 9.49
- Description
- Size Guide
Description
1 UNIVERSAL DECAL~
"ARKANSAS RAZORBACKS" GO HOGS - WINDOW VINYL GRAPHIC DECAL ~
JEEP TRUCK CAR ATV
Decals can be installed on any clean, dry, smooth, flat or concave surface, including:
Glass, Metal, Painted Surfaces, Fiberglass, Plastic and more.
PLEASE PRE-MEASURE THE AREA OF PLACEMENT PRIOR TO PURCHASE TO ENSURE ACCURATE FITTING
CHOOSE SIZE OPTIONS :
10" WIDE
X 5
" HIGH
14.5" WIDE
X 7
" HIGH
20" WIDE
X 10
" HIGH
25" WIDE X 12" HIGH
30" WIDE X 15" HIGH
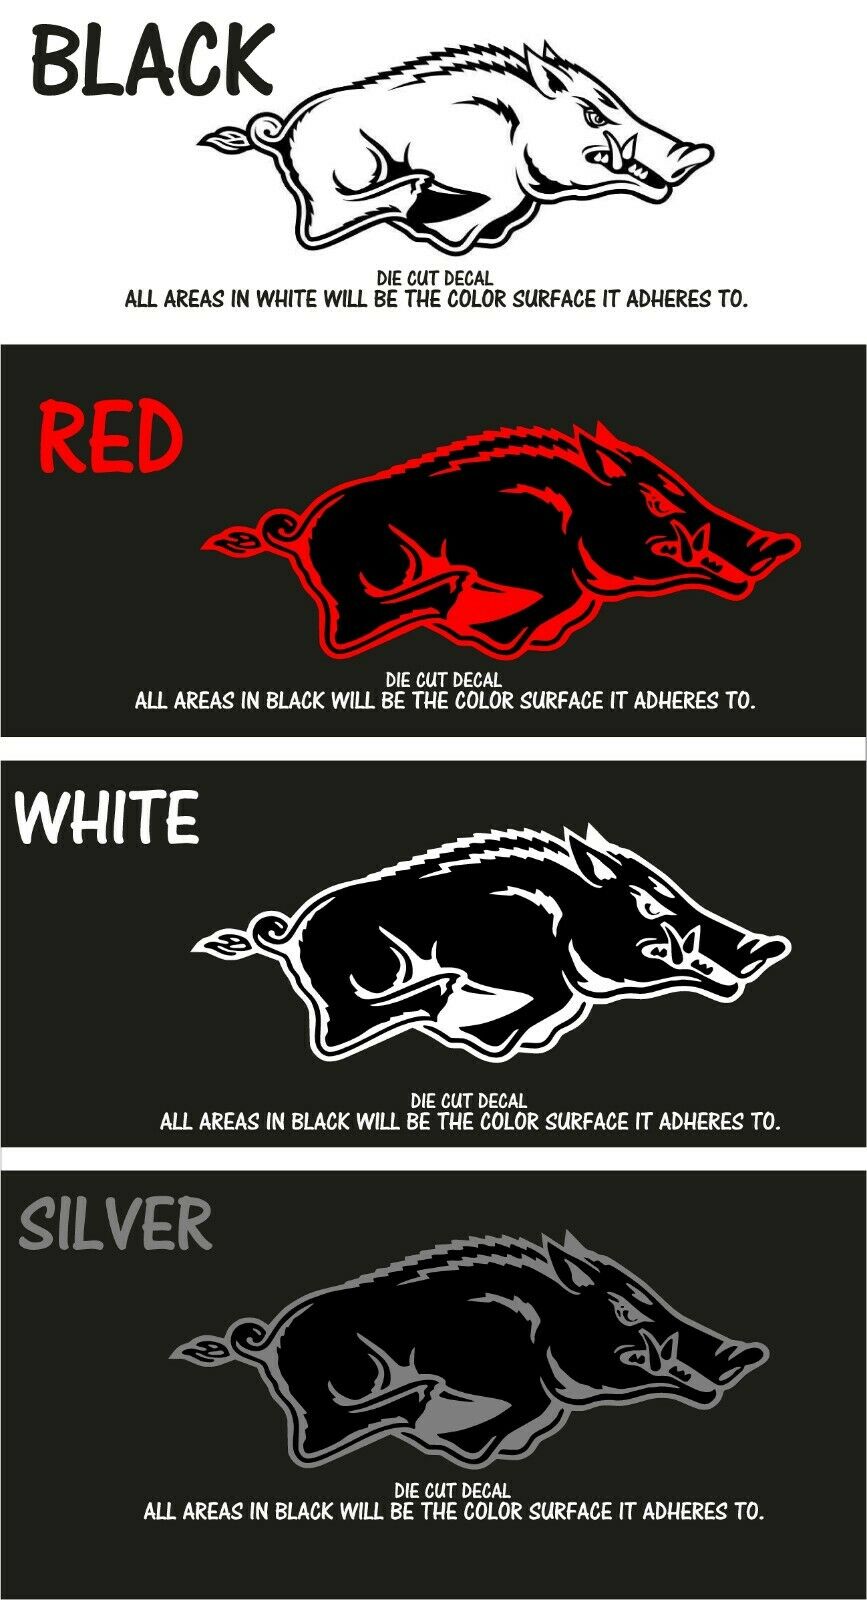
COLOR OPTIONS:
PLEASE REFERENCE PICTURES IN LISTING FOR ACCURATE COLOR
BLACK - WHITE - SILVER - RED
The background color of this decal will be the surface color it adheres to.
Item is a contour die cut with no background color.
EASY APPLICATION
All decals are ready for application.
Transfer tape has been applied for you... ALL YOU HAVE TO DO IS PEEL AND STICK!
(INSTRUCTIONS ON HOW TO PROPERLY APPLY YOUR DECAL WILL BE MAILED WITH PRODUCT)
DECALS ARE FROM HIGH QUALITY VINYL
6+ YEARS OF INDOOR/OUTDOOR WEATHER CONDITIONS
* WATERPROOF
* STAIN RESISTANT
* UV RESISTANT
* CONTOURS EASILY AROUND CURVES/CORNERS
SHIPPING INFORMATION:
Completed orders will be mailed out within 24 hours of payment.
Additional shipping charge will be applied to reship for incorrect address entered by the buyer at checkout.
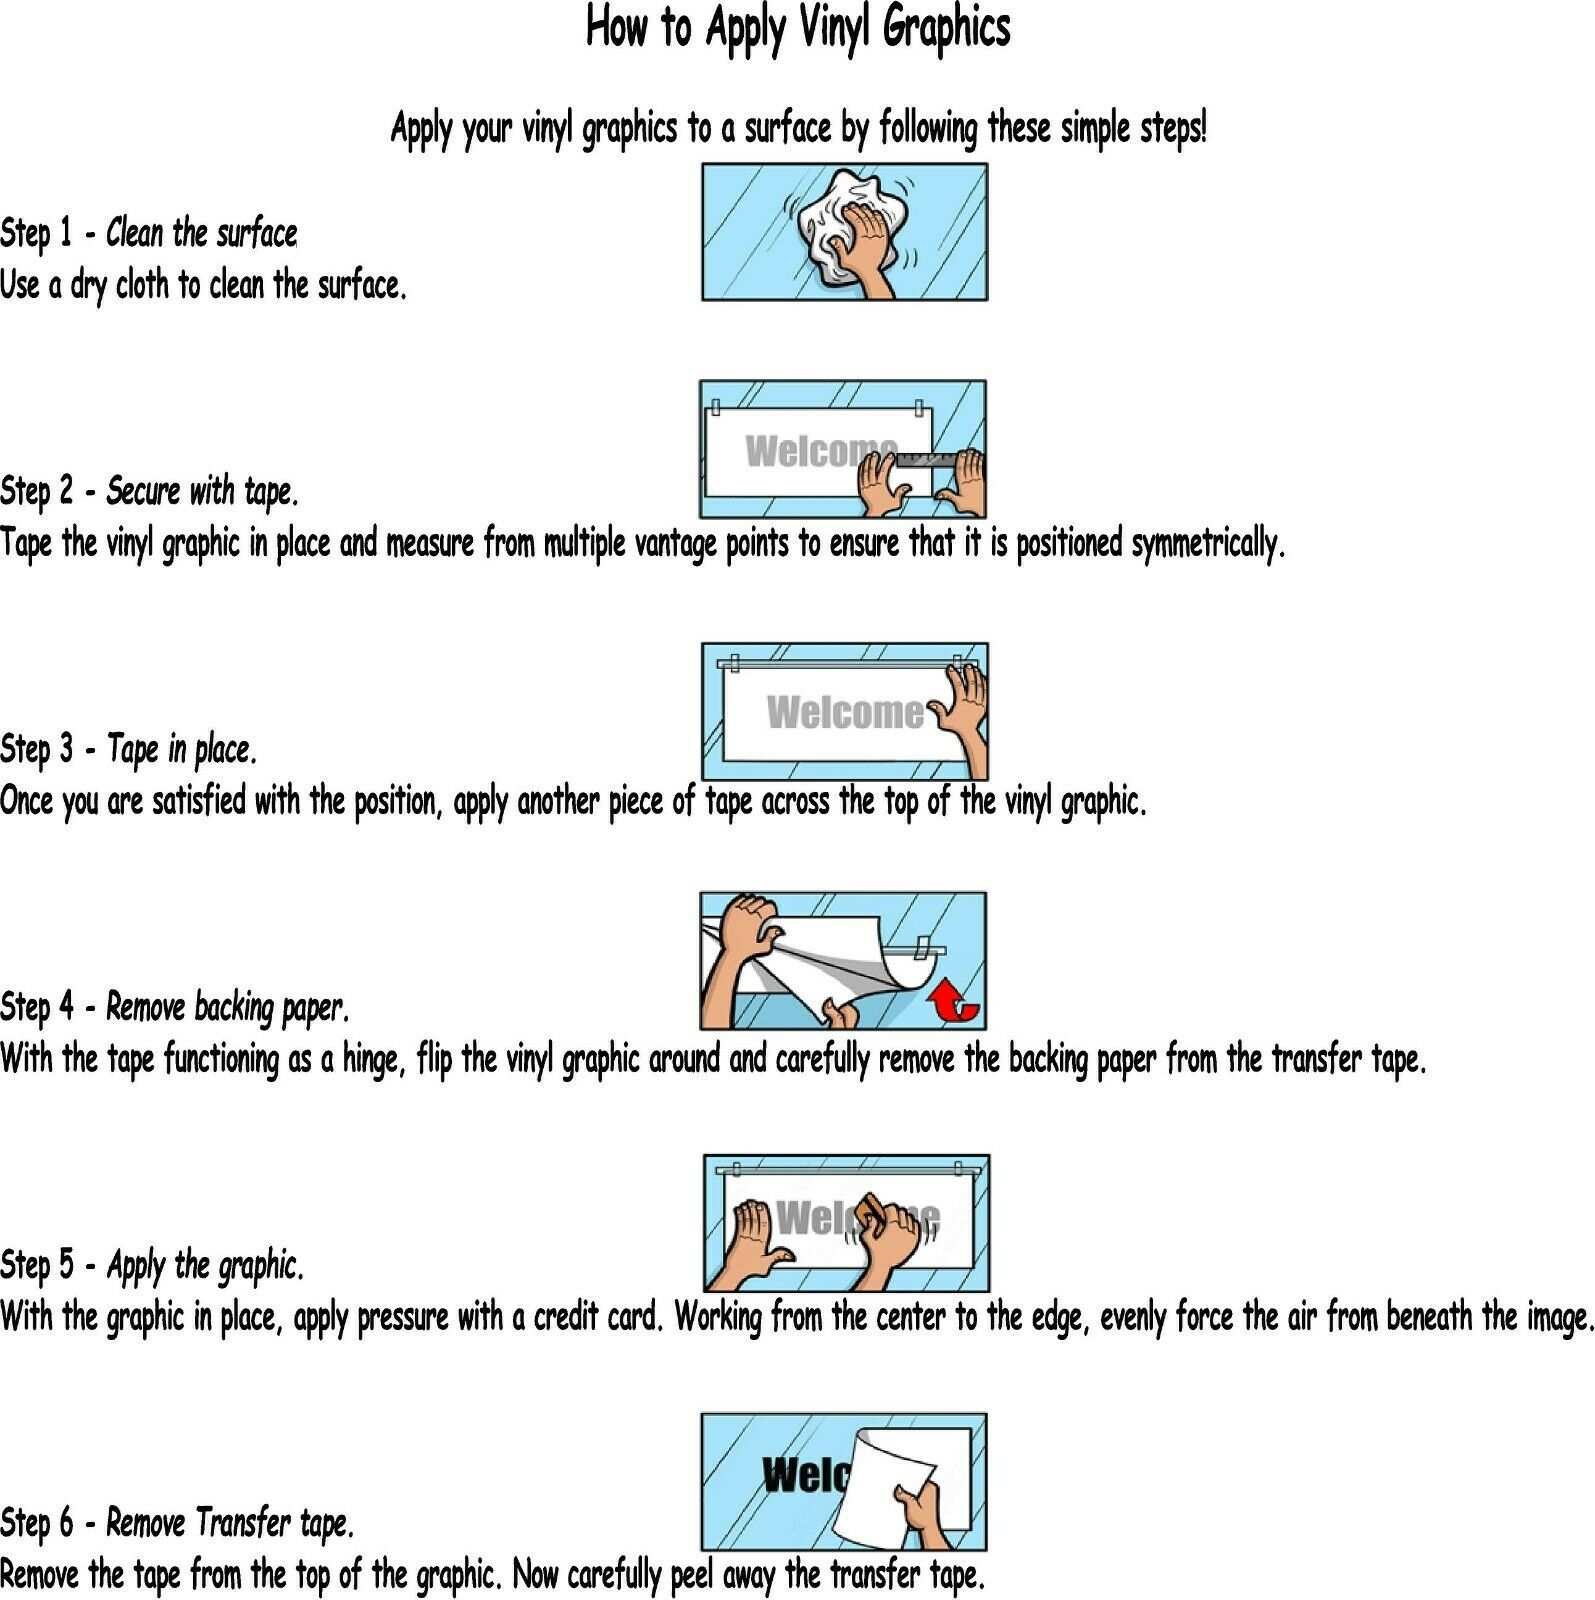
DETAILED APPLICATION INSTRUCTIONS:
STEP 1:
~ PREP THE AREA WHERE DECAL WILL BE PLACED ~
Select the location for your decal and clean the surface with isopropyl alcohol or glass cleaner.
Make sure the surface is completely dry before you apply the decal or it will not stick properly.
*TIP FOR GETTING THE PERFECT POSITIONING OF YOUR DECAL*
Place masking tape along one side or the top once it's in the desired location to hold it into place.
Then use it as a hinge and lift the decal up to pull the backing off.
STEP 2:
~ APPLICATION PROCESS ~
1.)
Slowly peel the white wax paper from the
backside
of the decal.
Work slowly -
The transfer tape (paper on front of decal) will lift your design off the wax paper from the backside.
If some of the design is sticking to the wax paper you can lay the transfer tape back down over the area and press firmly on the part that it is not sticking to help lift the decal.
Make sure to work slowly ensuring air bubbles do not form.
2.)
Place one side of the decal on the selected location.
Work slowly as you use your fingers to gradually stick the remaining decal onto the surface.
(Transfer tape should still be applied to the top of the design)
After you have placed the design
,
rub the decal with fingers to make sure the decal is properly adhered.
(Transfer tape should still be applied to the top of the design)
Use something similar to a credit card or driver's license to
"scrape" the decal
onto
the
surface area fully-
working from the center outwards.
3.)
Slowly remove the transfer tape from the front of the decal.
If parts of the design does not stick, lay the transfer tape back over the top of that area and rub firmly.
4.)
ADMIRE YOUR DECAL
THANK YOU!
*** Before leaving feedback (other than "Positive Feedback"), Please contact us if you are unhappy with your purchase
for any reason within 7 days from delivery date.
We will be glad to send you a replacement, offer an exchange, or fully refund your purchase price (if item has not been removed from backing paper).
Any items damaged in shipping, send us a photo of both the decal and envelope, please.
Our goal is to make sure we have returning and happy customers!
